
Fly Tying Tools: What Actually Matters at the Bench
Let’s start with the basics, you can’t tie until you have the correct tools. And you have lots of good ones to choose from, so let me give you some ideas based on my years of experience tying and teaching others.
Fly Tying Vises: Which Fly Tying Vise Do I Buy?
Ask 10 fly tiers about their favorite vise, and you’re bound to get over 15 recommendations! Where does that leave you? Here’s what matters when choosing a fly tying vise. Don’t overthink brands—focus on how you tie.
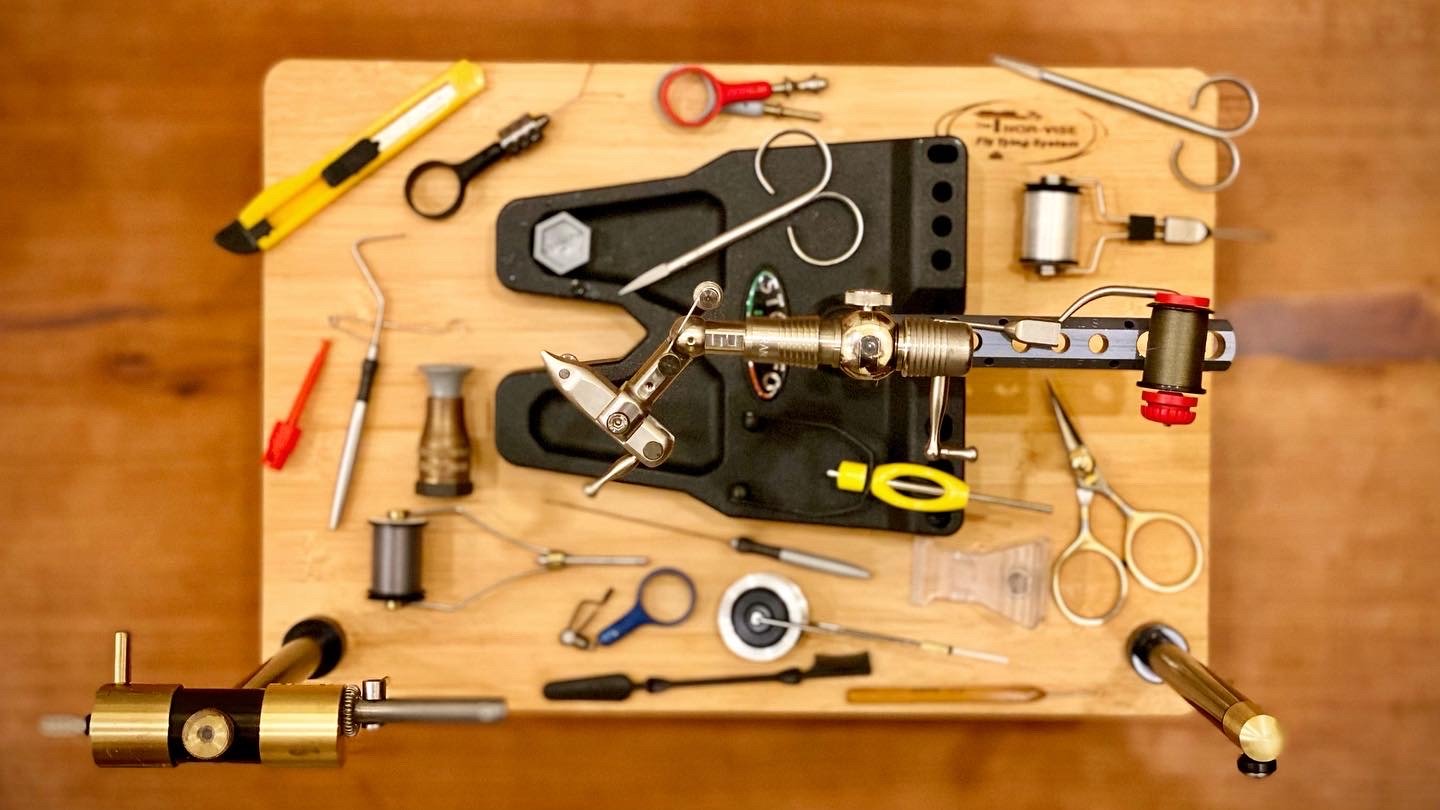
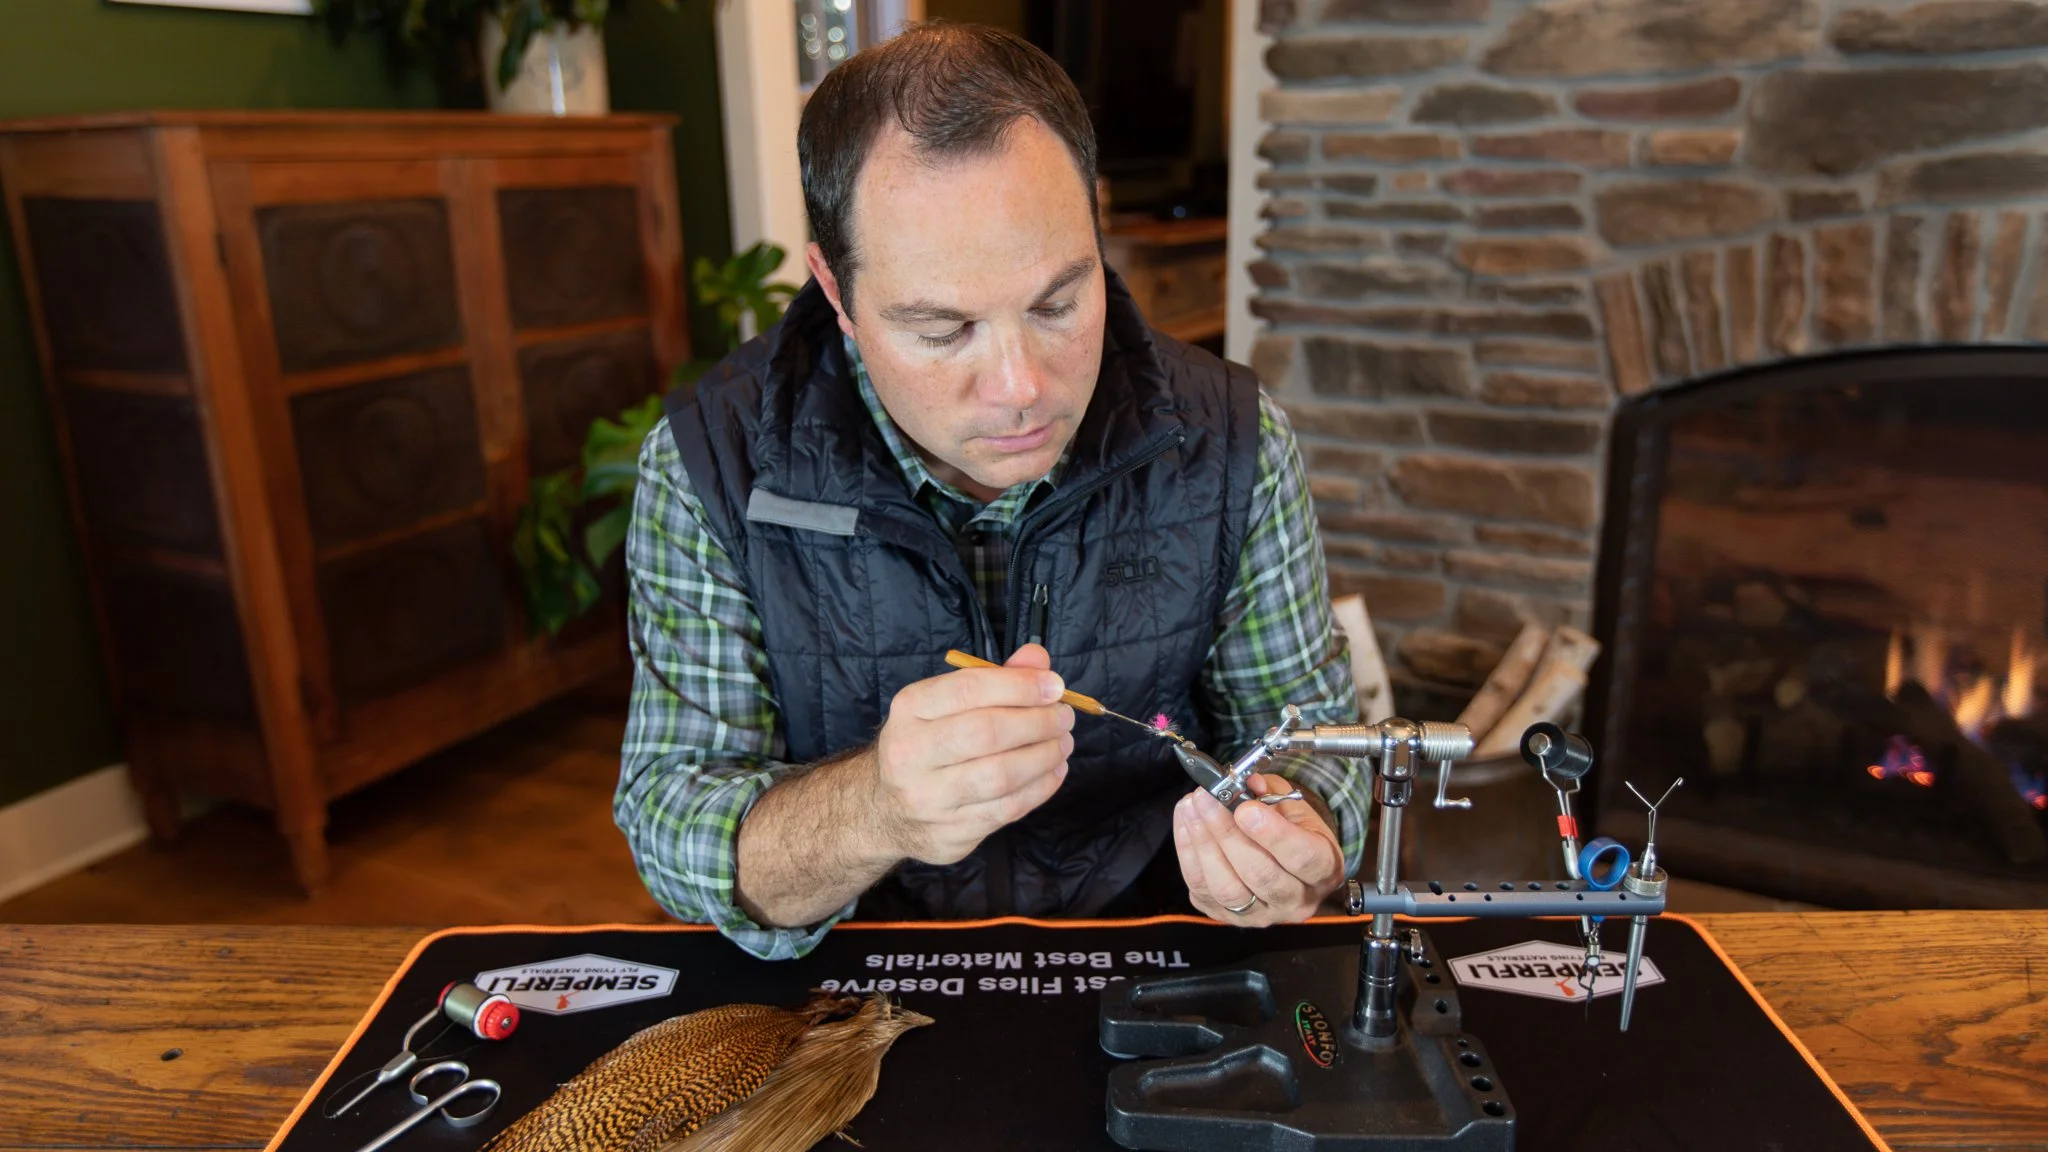
The Stonfo Transformer is one of my go-to vises. It’s true rotary, holds a wide range of hooks securely in excellent jaws, and has a rock-solid base. Those are the qualities that matter most at the tying bench.
1. Hook Range
Make sure the vise holds the hook sizes you tie most often. Medium trout flies are easy. Tiny midges and big streamers demand better jaws.
2. Holding Power & Jaw Style
A vise only has one job: hold the hook securely. Cam-lever and tension-style jaws both work well—each has pros and tradeoffs.
3. Rotary vs. True Rotary
Rotary vises let you see all sides of the fly. True rotary keeps the hook shank level as it spins, speeding up tying and improving control.
4. Adjustability & Base Style
Look for a vise that fits your tying style—right- or left-handed use, a comfortable working height, and easy access to the hook. Just as important is where you plan to use it. Bench, travel, and production tying all favor different designs.
I prefer a pedestal base because it’s easy to move between tying locations, while a C-clamp offers excellent stability if you have a dedicated bench or table. In the end, stability and portability often matter more than brand names.
5. Price and Value
Most quality fly tying vises begin around the $125–$150 range. Above that, you’re paying for preferences—features, feel, and aesthetics—rather than basic function. The right choice is the one that fits your tying style and builds confidence at the bench.
Start here with my video covering the different fly tying vise styles, as I break apart several of the popular options out there today.
Bobbins, Scissors, and Whip Finishers
When you break it down, these are the most common fly tying tools you’re going to use for every fly no matter what style of fly tying. My first set of tools came with a lower-priced tying kit, and they did the job well. I’ve since upgraded and have a few thoughts to help you make the right decision the first time!
I use the Griffin Supreme bobbin because it delivers smooth, consistent tension without overcomplicating things. It’s durable, dependable, and doesn’t need to be fancy to work well.
Bobbins
Bobbins don’t need to be complicated. A smooth insert—typically ceramic—is the biggest upgrade for most tiers, improving thread flow and durability. Adjustable-tension bobbins offer even more control, but with a slight learning curve. To keep things simple, here are three bobbin tiers to consider.
Entry level - Typically found in a beginner set, the standard bobbin features a metal tube with fixed tension. Quite simply, they get the job the done? Why upgrade? Inconsistent tension and tubes that fray thread are common with lower-priced bobbins.
Ceramic bobbin - When tying, I have most thread prespooled in bobbins with a ceramic insert. Lots to choose from, a favorite is this Griffin Supreme, which also comes with a threader.
Tension Bobbin - Go with the Stonfo Steeltech, my favorite bobbin in fly tying. With a hardened steel bushing at the tip, this bobbin provides fine tension control. Bonus, it’s balanced equally on both sides, thus spins perfectly when cording thread.
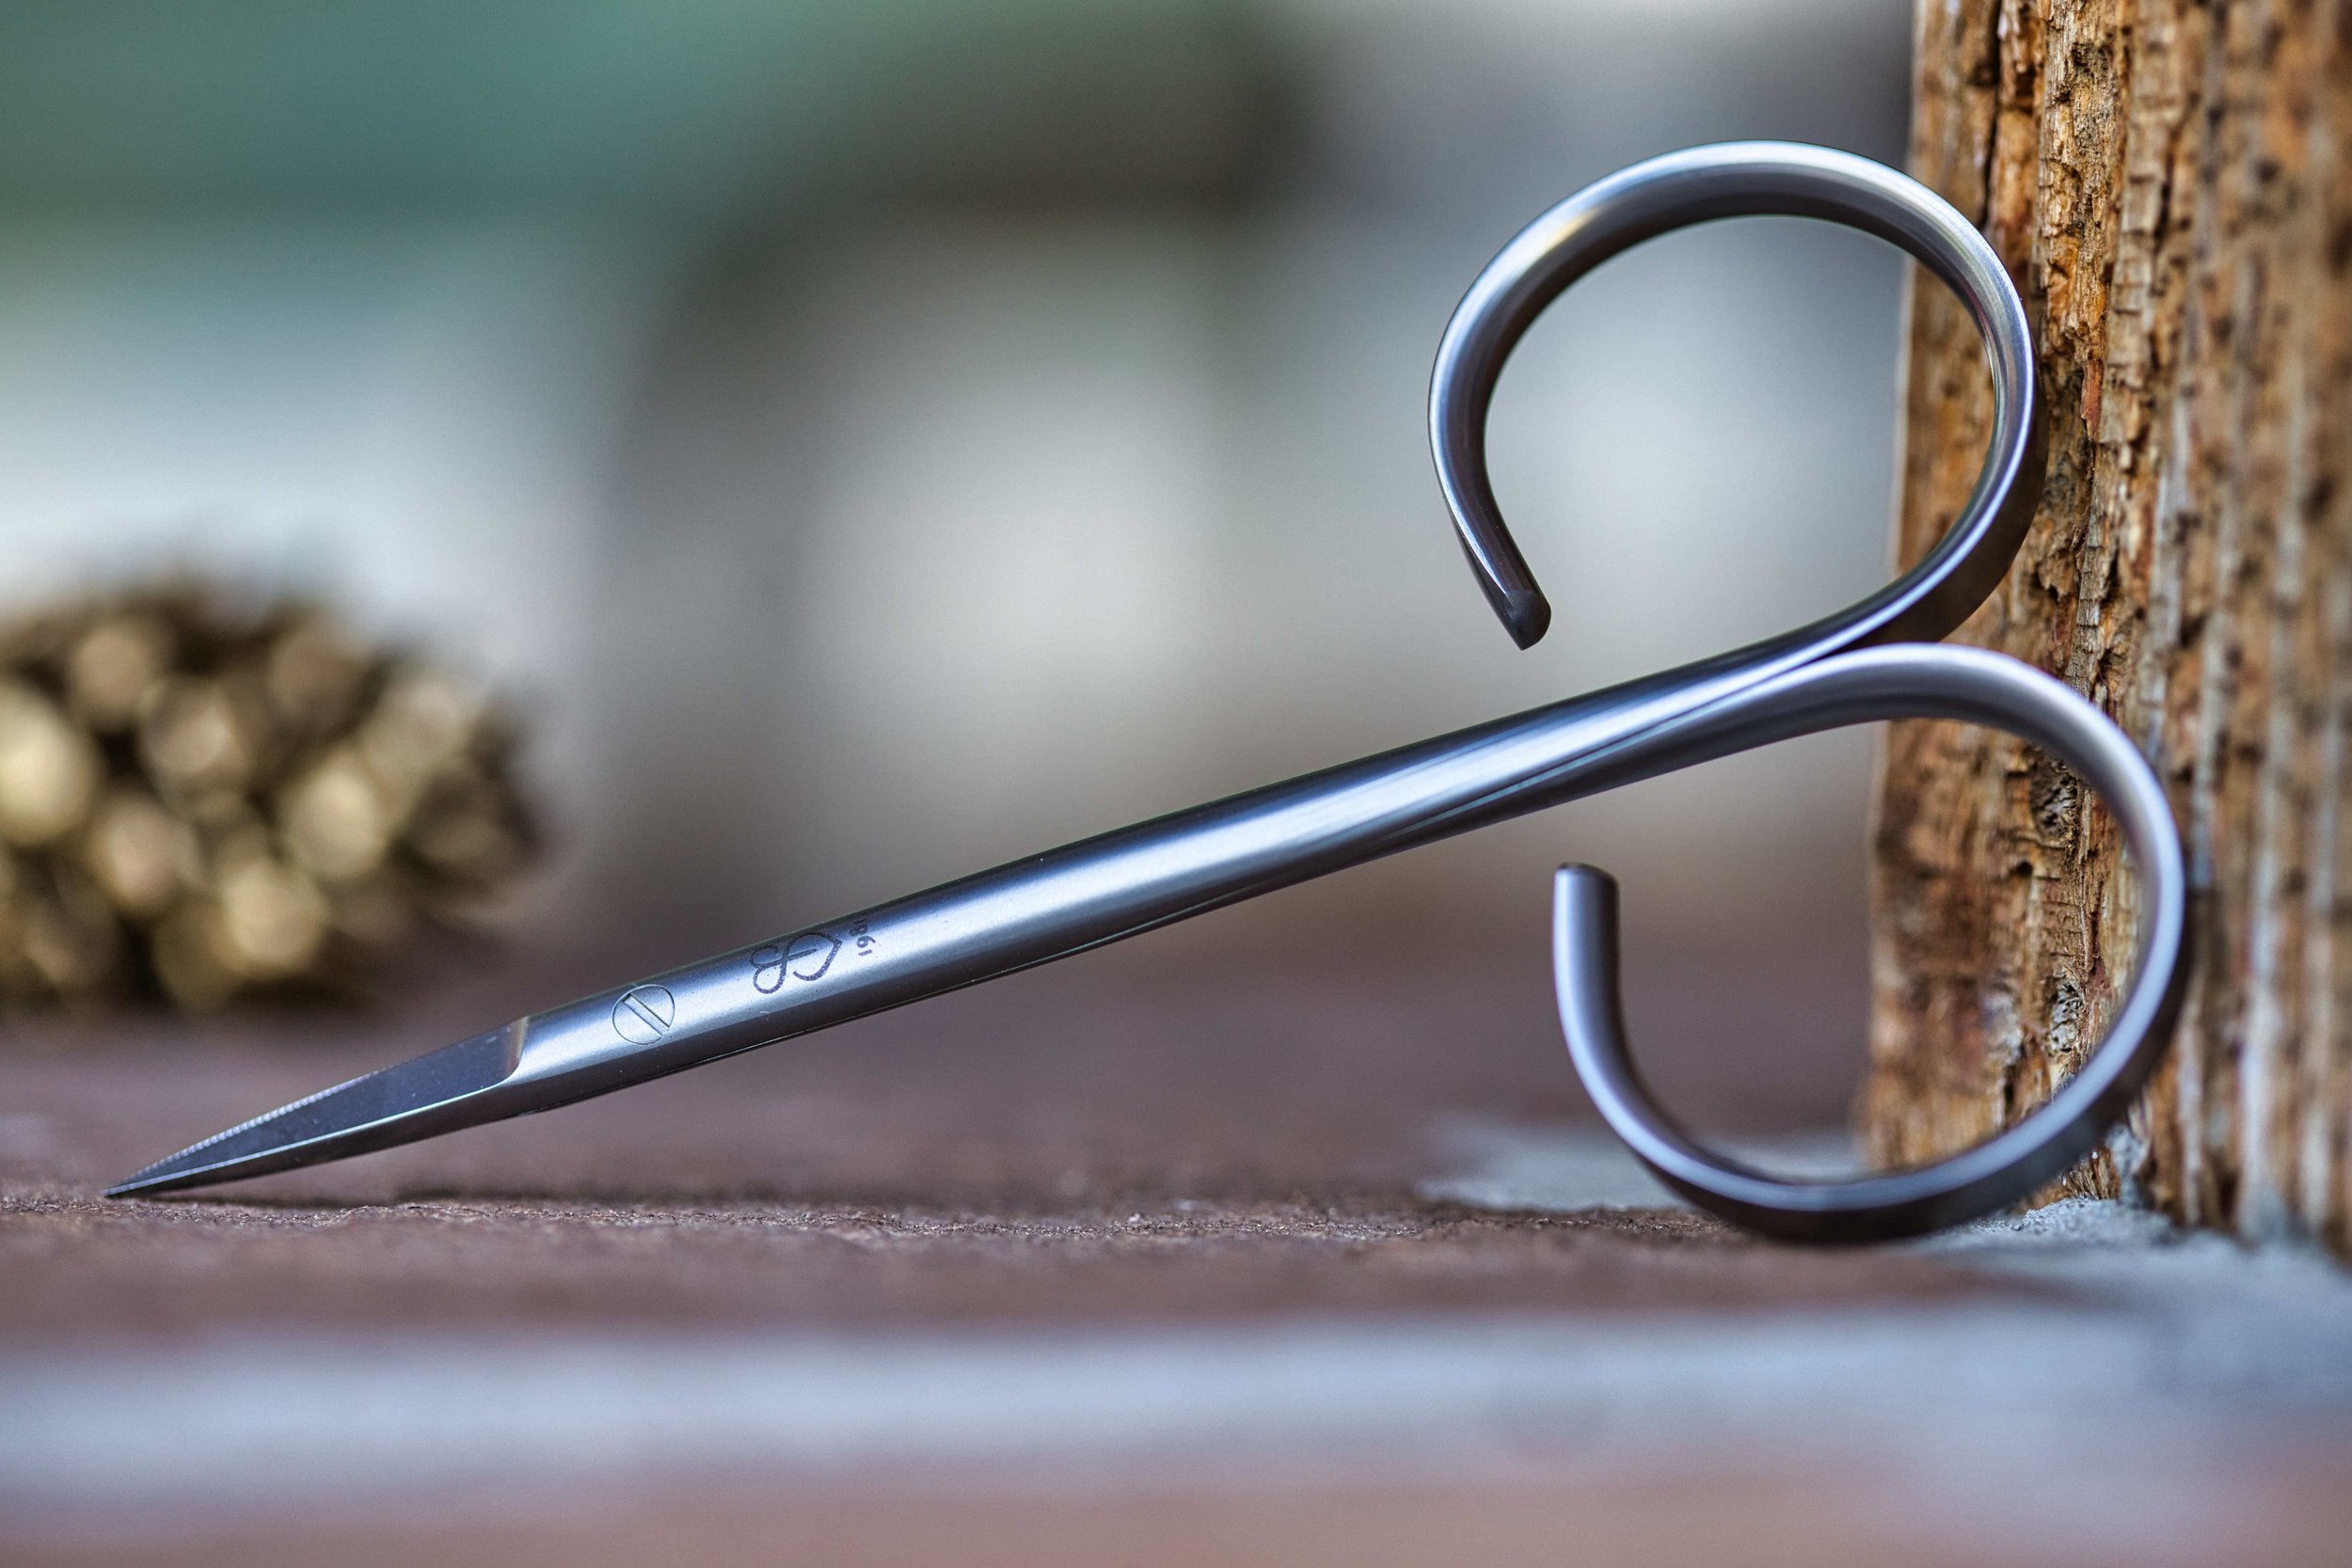
At the end of the day, they’re scissors — but this pair from Renomed cuts exceptionally well and adds a touch of craftsmanship to the bench.
Scissors
It’s easy to say, “Don’t overthink the scissors,” but this is fly tying…it’s what we do! I still have my first pair, and though they’ve lost their precision, they’re still able to cut materials. This is fine for standard flies, but when precision cuts are needed, I opt for these pairs instead.
Renomed - My favorite fly tying scissors, this pair features a serrated edge to hold the materials, with a razor edge to make a sharp cut. Using my current pair for over five years has shown me the value of a quality pair of scissors.
Razor-tip - Put simply, these are sharp! Both blades are razor, with tips that come to a point. this style works best for precision cuts, especially when tying smaller flies.
Rambler - At the International Fly Tying Symposium, I ran into Cheech from Fly Fish Food and he couldn’t stop talking about a pair of scissors that seemed to cut everything like a hot knife through butter. He let me borrow his pair, and he was right. From fine materials, GSP threads, and even wire, these scissors showed no signs of slowing down.
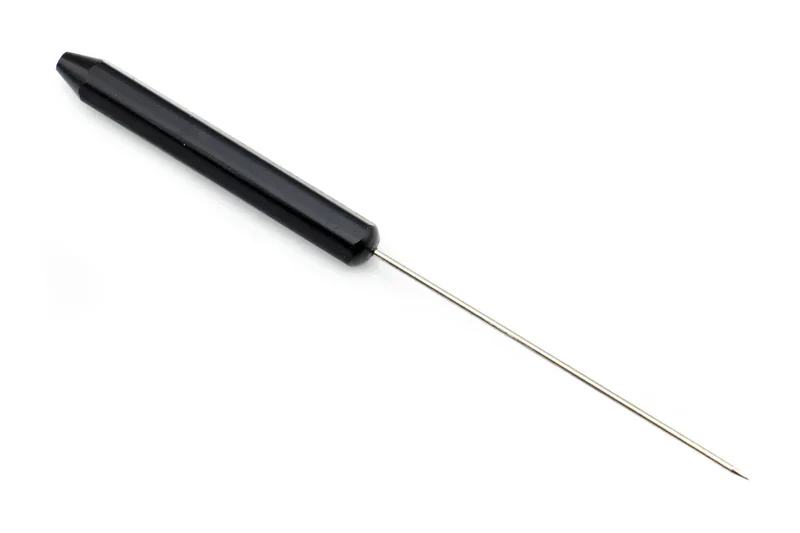
A half-hitch tool, like this one from Hareline, helps you lock in sections of a fly by creating a simple loop of thread. You may already own one without realizing it — many bodkins have a built-in half-hitch cutout on the opposite end of the needle.
Whip Finishers and Half-Hitch Tools
Few things in fly tying are more frustrating than a fly coming undone at the finish. The good news is there are several simple, reliable ways to secure your thread—some using tools, others by hand. Let’s look at the most common.
A loop of tying thread that’s slid over the fly and tightened around the hook shank to lock the thread in place. When I first learned fly tying, I would place half-hitches after each section of the fly so that if my thread broke (or I lost pressure), my work wouldn’t completely unravel. You can tie a half-hitch with your fingers, and many half-hitch tools exist on the market. In a pinch, I’ve even used the bottom half of a clickable pen.
Used as the final knot, a whip finish creates a series of interlocking wraps that form a self-locking knot at the head of the fly. While tools exist to help accomplish this, my preference is a hand whip finish.
My most popular video of all time My most popular video covers the different ways to finish a fly — from tools to the hand whip finish.
Adhesives
Head cement
Traditionally, head cement is added to the fly head after securing it with a final series of half-hitches or whip finish. I like water-based cement because if it starts to thicken, you can just add a little water and bring it right back. A popular finish type is high gloss, especially for flies with a significant thread head.
Super Glue
My preferred way to seal a knot is with super glue. For most nymphs and streamers, I apply a small amount directly to the thread before the whip finish, then complete the head. Zap-A-Gap is a favorite—it’s waterproof and incredibly durable.
Some tiers take it a step further and use brushable super glue on the standing thread, finishing with about ten wraps at the head and trimming without a final knot. Is a knot necessary? That’s up to you—but I still whip finish every fly.
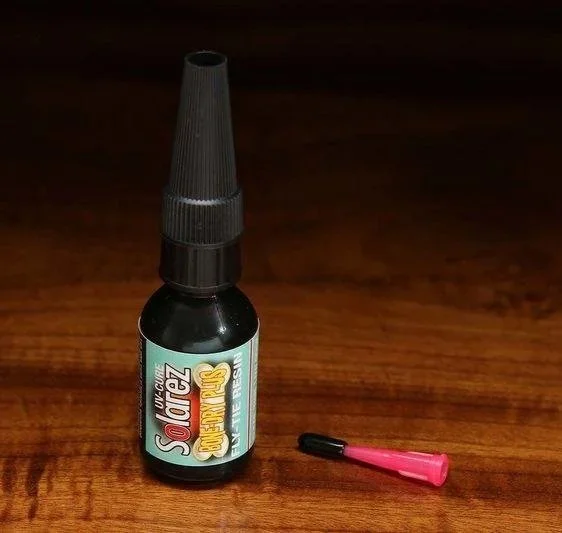
Solarez Bone Dry Plus is my favorite UV resin. It cures fast and makes nearly bulletproof bodies on Perdigons.
UV Resin
UV resin can also be brushed onto your standing thread, or else used to cover other materials. Why do tiers love UV resin so much? It’s cured with a UV light in seconds, much faster than epoxy that I kept on my tying bench for years.
Curing adds an extra step, thus I only choose this route when I need a substantial head (or other fly component) built up with resin. This includes Perdigon bodies, streamer heads, and over scud shellbacks. Favorite UV resins include:
Solarez Bone Dry - The container has a brush, making it perfect to brush over a body or thread.
Solarez Bone Dry Plus - My favorite resin, as its applicator tip is easy to apply the perfect amount.
Solarez Bone Dry Black - When making a black wing case over a Perdigon thorax, use this material.
Bonus tip: If the resin doesn’t seem to cure, check the batteries in your UV torch. That’s the culprit 99% of the time!
Hackle Pliers & Material Clips
No matter how nimble your fingers are, holding onto delicate fly tying materials can be a challenge—especially after a cup of coffee. Hackle pliers and material clips make it much easier to control feathers, beads, and fine fibers at the vise. Like most fly tying tools, not all are created equal, and these are a few favorites I use regularly.
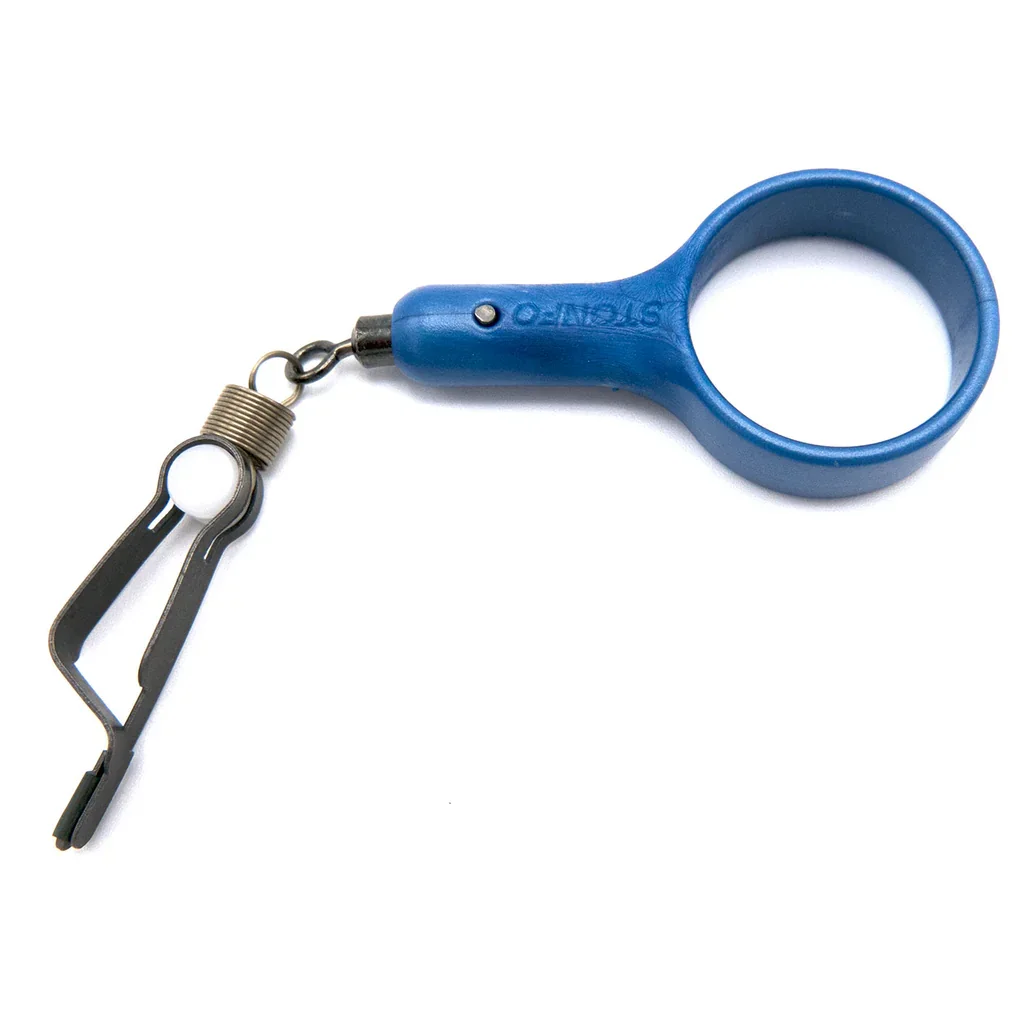
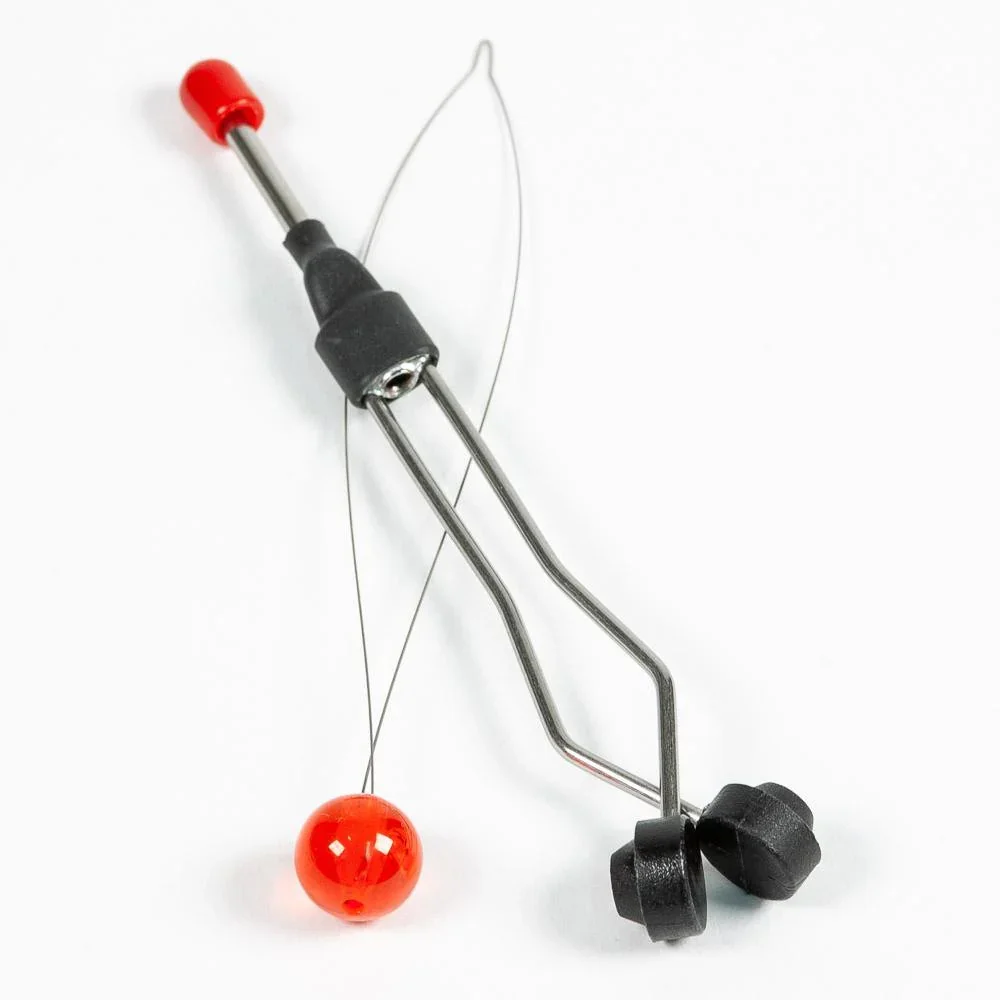
Stonfo Short Spring Hackle Pliers are easy to handle and incredibly forgiving. The best part? That built-in spring protects delicate materials when your fingers move too fast…or the coffee kicks in.
Stonfo Short Spring Hackle Plier
One of my most-used tools. It grips materials securely, and the built-in spring acts as a shock absorber when you make an unexpected move. This is one fly tying tool I can’t live without!
Griffin Rotating Hackle Pliers
If you tie a lot of parachute dry flies, these are hard to beat. The rotating extension keeps your hand away from the post and gives you better control when wrapping hackle.
Bead TweEzers
Placing small weighted beads onto hooks can be frustrating. A good set of tweezers makes it much easier to grip the bead and guide the hook point through the hole.
Bulldog Clip
No bench is complete without a few clips for holding loose feathers and fibers. My go-to are the Stonfo Dubbing Loop Clips—they’re lightweight and come as a three-pack with different widths.

👉 5 Essential Fly Tying Tools
I recently featured a guest article that walks through essential fly tying tools from a slightly different angle. It’s a great companion read if you’re just getting started.
Other Essential Tools
Hair Stacker
No matter if you’re spinning deer hair for bass bugs, or tying a wing on my favorite dry fly of all time (the X-Caddis, of course), there is a need for a quality hair stacker. I prefer one with a rubber base that isn’t too loud when stacking against a surface. Don’t forget to add a comb to help brush out underfur.
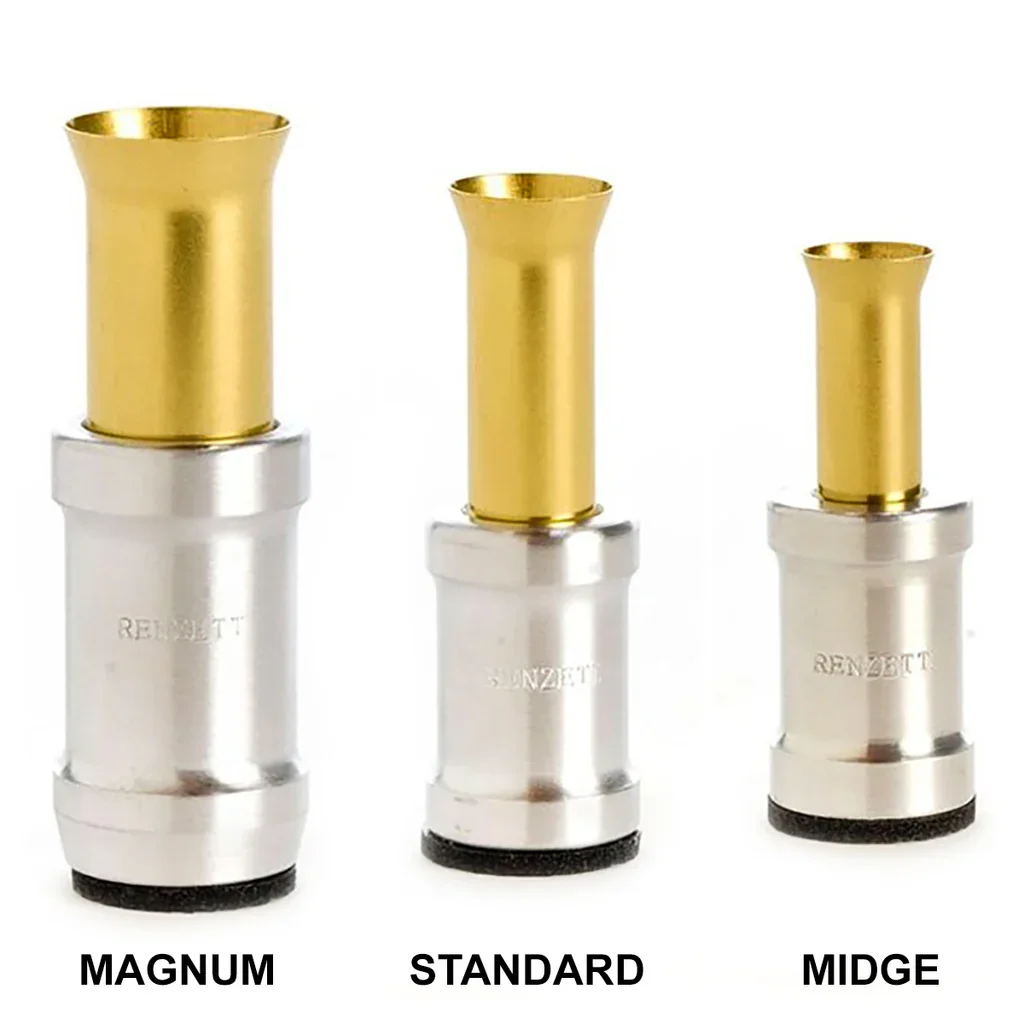
There are plenty of hair stackers out there in different sizes and materials. These from Renzetti are simple, well-built, and align hair tips cleanly and consistently — exactly what you want at the bench.
Bodkin
No tool collection is complete without a bodkin, also referred to as a dubbing needle. From poking holes in close hook eyes to picking out dubbing, this is a useful tool to have nearby. Bonus, many have a half-hitch tool on the reverse side!
Dubbing Loop Spinner
Do you need a dubbing loop tool? Probably not. Most modern threads can be split to insert dubbing, CDC, or other materials.
But is this one of my most-used tools? Absolutely.
I use the Stonfo Elite Dubbing Loop Spinner for its ball-bearing smoothness and the 90-degree rotating head, which makes turning controlled and effortless. It’s not inexpensive. But when it comes to tools you’ll use constantly, I follow a simple rule:
Buy once, cry once.
Razor Blades
Mistakes happen when tying flies, and sometimes it’s best to cut everything away and start again. Since I use my bodkin to apply UV resin, the glue hardens on the needle; a razor blade is perfect to scrape it away.
Velcro brush
Use this tool to brush out dubbing and trsapped fibers. Into DIY? Make your own with a piece of Velcro and popsicle stick. For a brush and comb combo tool, check out the Stonfo Pettine Comb/Brush, it’s a favorite of mine.
CDC Block
CDC, short for Cul de Canard, is a delicate feather used for wings, hackle, and more. But when you wind the thick stems around a hook shank, bulk builds up quickly. Instead, I prefer using a dubbing loop to control the fibers. A CDC block makes this process much easier. This one offers multiple length options and holds a significant number of fibers securely before you transfer them into your loop with clips.
Final Thoughts: Build Your Bench With Intention
You don’t need the most expensive tools on the market to tie great flies. You need tools that work consistently, feel comfortable in your hands, and build confidence at the bench.
Start simple. Upgrade when your tying demands it. Invest where performance matters most.
Over the years, I’ve learned this: good tools don’t make great flies — but they remove frustration so your creativity can take over.
If You're Serious About Tying
The right tools matter.
Understanding how to use them matters more.
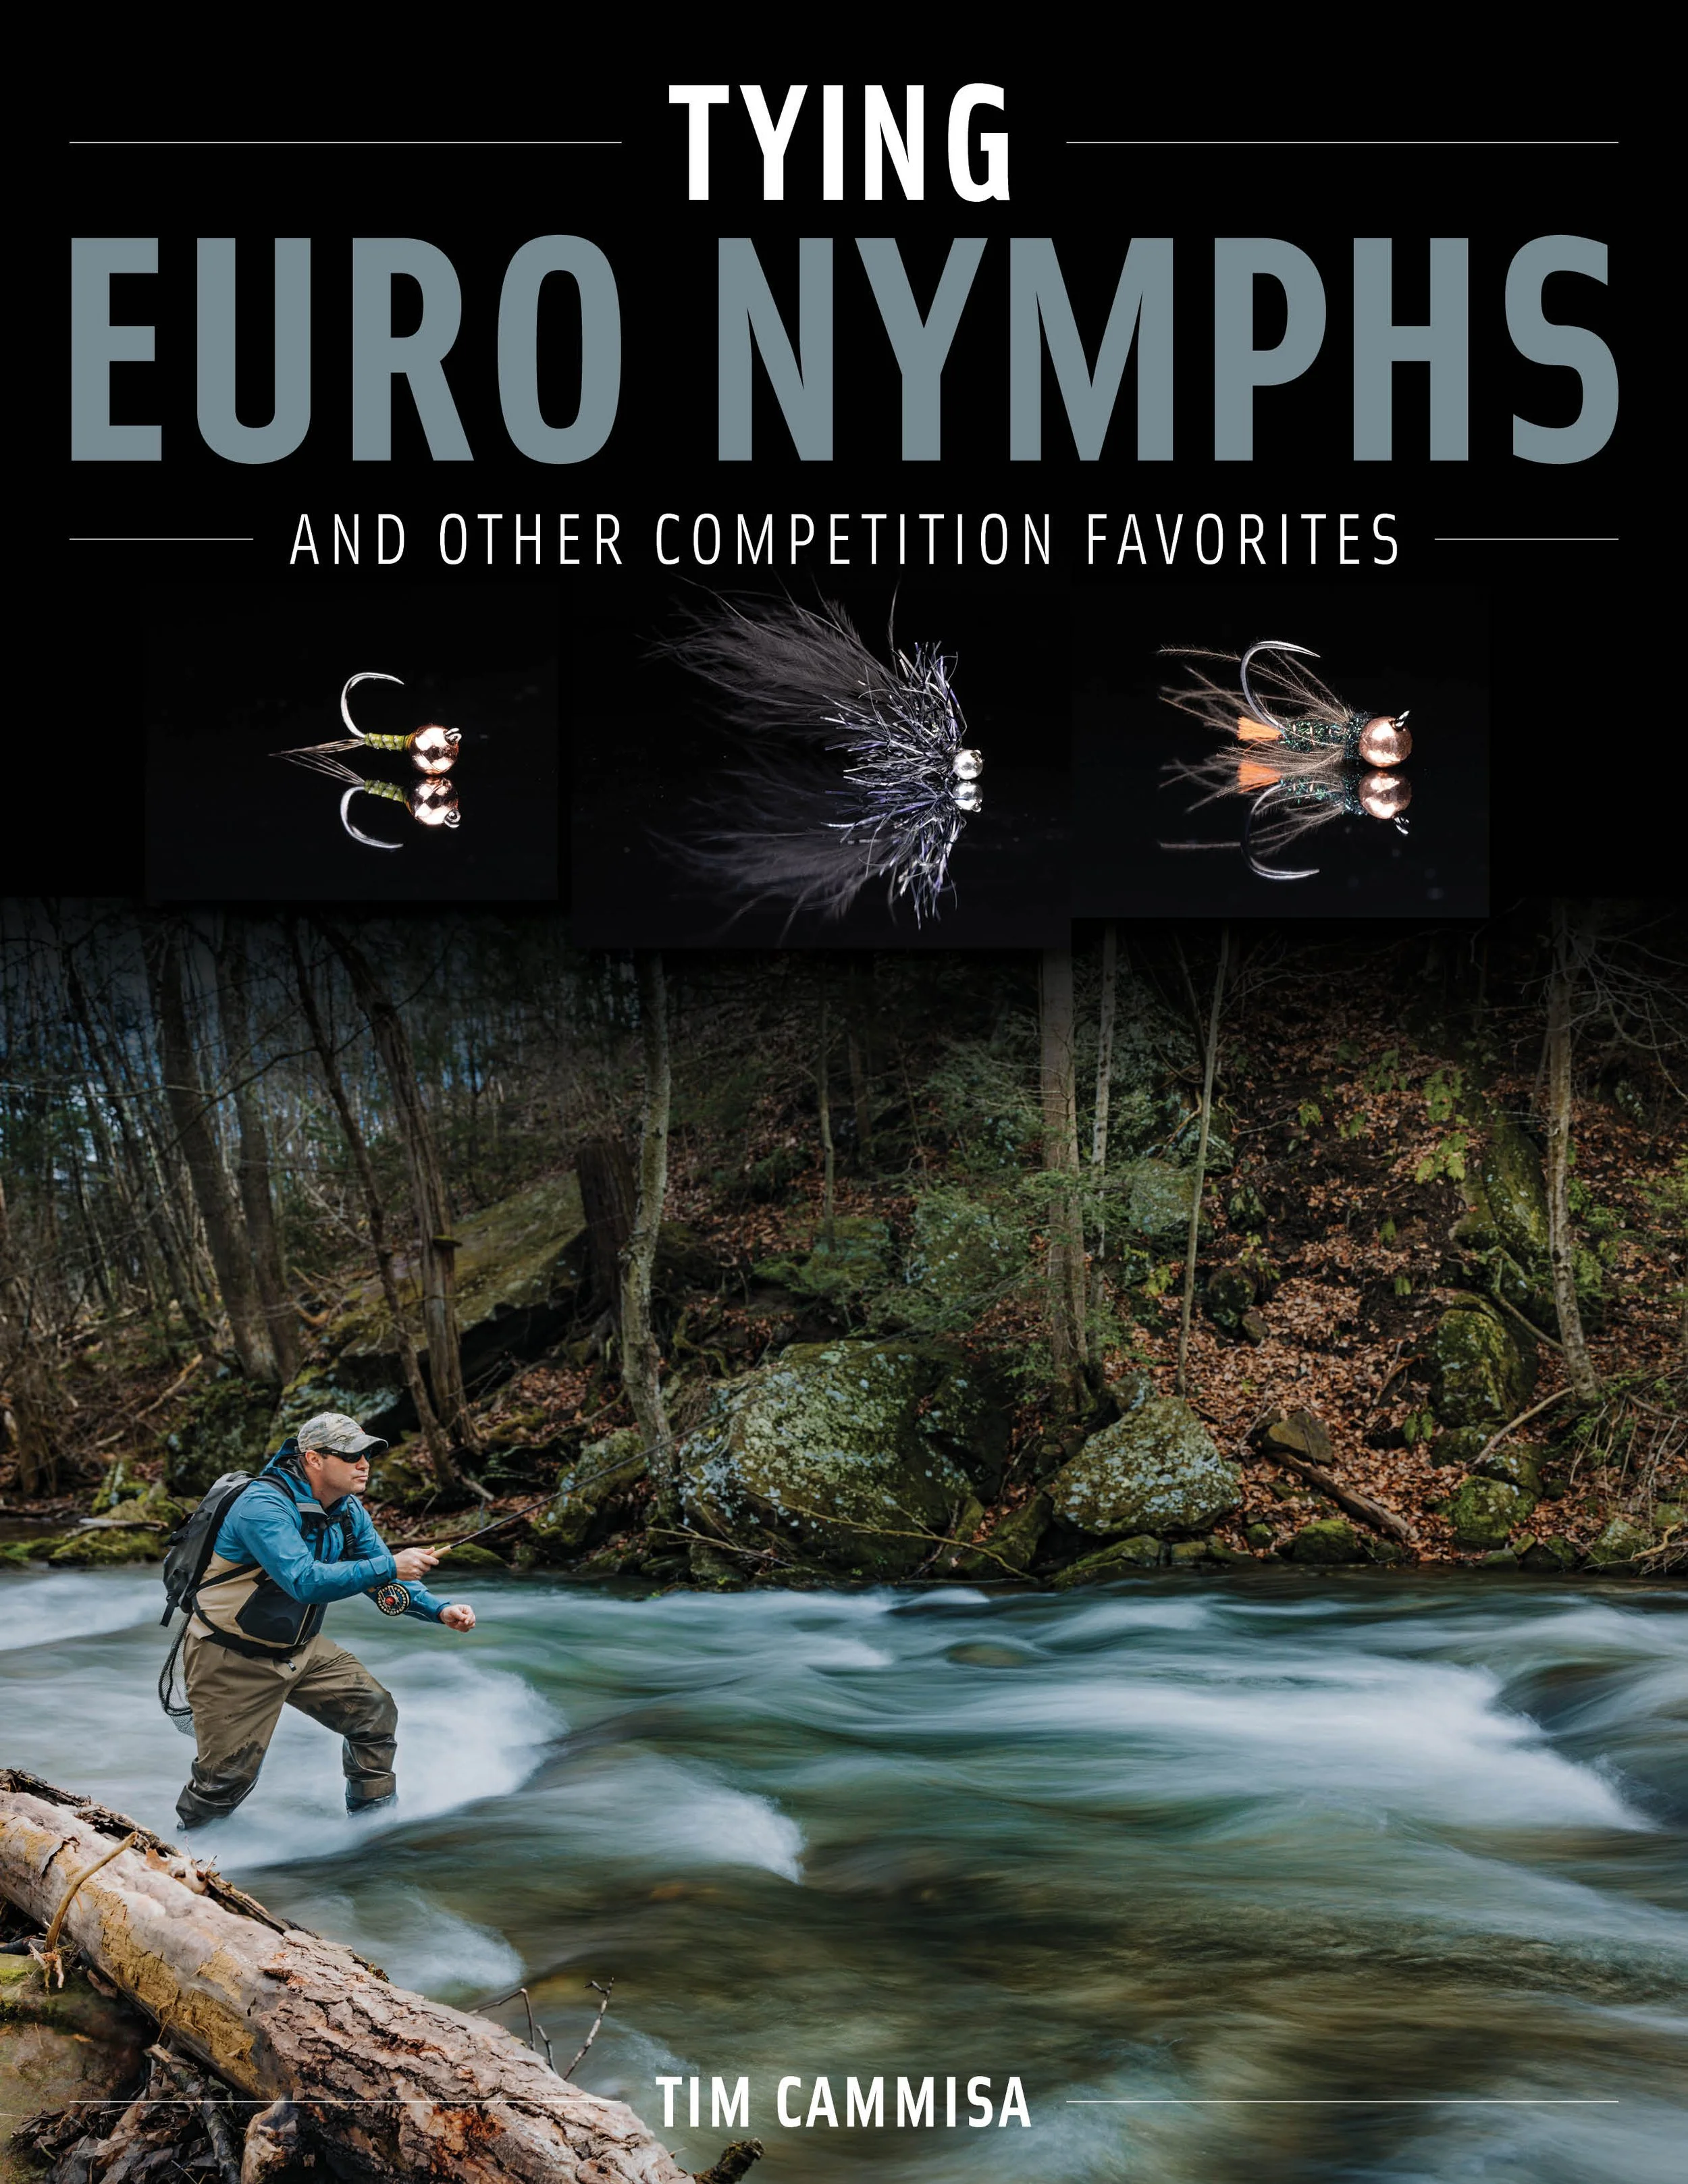
My book, Tying Euro Nymphs, walks through modern patterns step by step — with macro photography and proven confidence flies.
What’s Next?
Now that you’ve seen the tools, the next step is learning how to use them efficiently and confidently. Here’s where I recommend starting:
Step-by-step fly tying tutorials
Technique breakdowns (dubbing loops, CDC control, whip finishes, and more)
Pattern walkthroughs for trout, steelhead, and bass
Recorded presentations and in-depth tying classes
More detailed written fly tying articles are coming soon to the Trout & Feather blog. Until then, the best way to continue learning is through the video library and hands-on demonstrations.
👉 Explore Fly Tying Videos
👉 Join the Trout & Feather Email List
If you’re serious about improving at the vise, stay connected. I regularly share new tutorials, tool breakdowns, and tying tips that go beyond the basics.
Let’s keep building.
There’s something special about time at your favorite tying desk — especially when the tools just work.